
📸 The Shot Everyone Wants and Almost Nobody Can Get
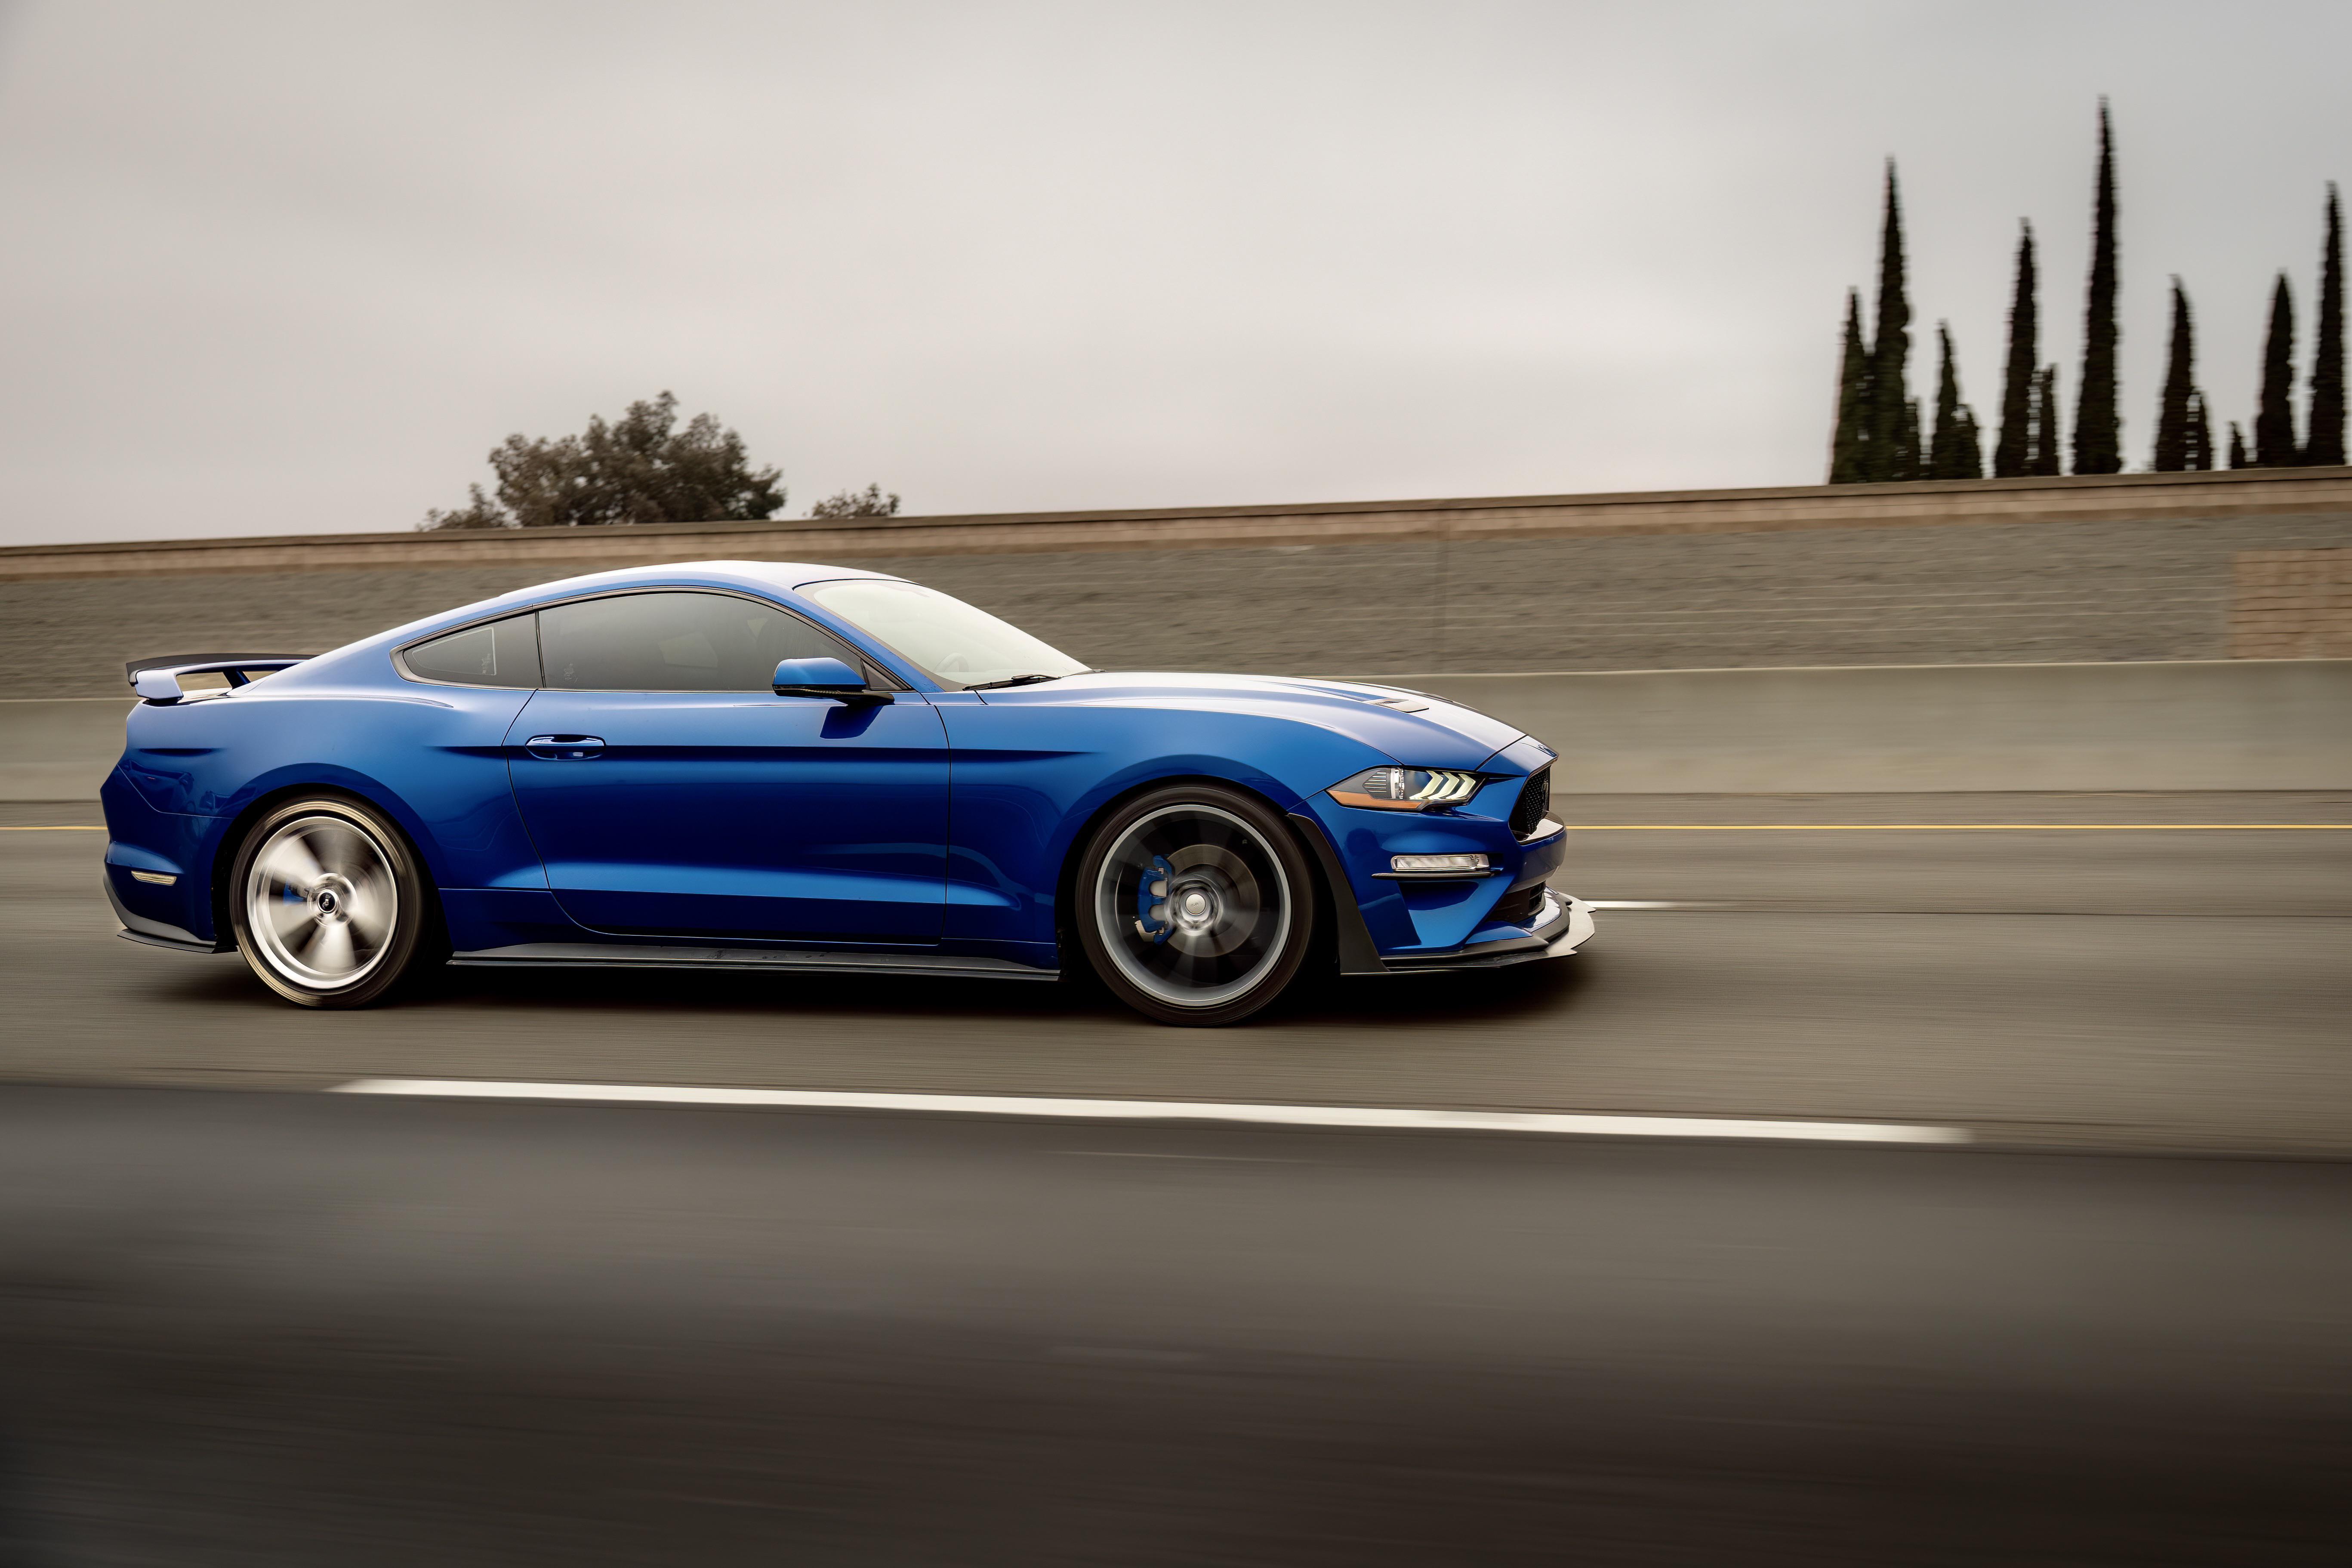
You know the shot. Car frozen sharp in the frame, wheels and background smeared into motion, everything about it screaming speed even though the car might be doing 25 in a parking garage. It's the single most requested photo in car culture and also one of the hardest to actually get, because the traditional way to shoot it requires two things a lot of car people don't have on demand: a second car, and a friend willing to hang out the window of it with a camera.
That's the real bottleneck. It's not talent, it's not gear, it's logistics. You need a driver you trust, a photographer with a steady hand, two cars that can hold a matched speed for a few seconds, and a stretch of road where doing that isn't insane or illegal. Most people don't have all four of those lined up on a random Tuesday evening when the light is perfect and they finally have an hour to shoot.
Here's the good news: you don't need any of that. Rolling shots of your own car, shot solo, are a completely solved problem now, and once you know the actual techniques, they're not even that hard. This guide walks through every real method, from the cheapest possible setup to the ones pros actually use, plus the camera settings, routes, and mistakes that make or break the shot.
🎥 Method 1: The Suction-Cup Rig (Cheapest, Most Reliable)
This is the method almost every solo car photographer eventually lands on, because it's the one with the fewest variables.
What you need:
- A suction-cup camera mount (roughly $20-60, made for GoPros and action cams, some fit phones and mirrorless bodies)
- A camera or phone with decent low-light and stabilization
- A quiet stretch of road, empty lot, or driveway with some visual interest in the background
How it works:
You mount the camera to a fixed point on your own car (hood, roof, trunk lid, sometimes a rear window with a window-clamp mount instead of suction), point it at the part of the car you want in frame, and drive. The car itself is your rig. It never leaves your side because it's attached to you.
This gets you two very different looks depending on where you mount:
- Mounted low and close (rocker panel, wheel, hood near the fender): dramatic close-up motion, wheel spin, ground blur streaking past. This is the shot that makes people ask what lens you used.
- Mounted higher and further back (roof, trunk): a fuller car-in-motion feel, more like a chase shot, good for showing off a stance or widebody kit.
The trick nobody tells you: shoot in short bursts on quiet roads at low-to-moderate speed (25-40 mph is plenty for visible motion blur with the right shutter speed), not on the highway. Highway speeds add risk without adding much to the shot, and wind noise or vibration at higher speeds can actually hurt image stability more than help the effect.
🪞 Method 2: The Mirror Trick (Zero Extra Gear)
If you don't want to buy a mount, there's a version of this that costs nothing: shoot through your own side mirror or a handheld phone braced against the window frame while driving past a fixed point, or better, park a phone on a tripod (or just wedged securely) on the side of the road and drive past it multiple times, reviewing and adjusting each pass.
This is essentially a one-person version of the classic two-car method, except instead of a second car, you're the moving subject and a stationary rig is your "photographer." It works especially well in a quiet industrial area, empty lot, or long straight driveway where you can make multiple passes without traffic.
Spota tip: if you're active in a local club or playlist crew, this is exactly the kind of shot people trade favors for. Post that you're looking for 10 minutes at a specific spot and someone with a good eye will usually show up. Rolling shots you get with another Spota user still count as one of the best ways to build both your Garage and your rep in the local scene, this method is for when nobody's free and you still want the shot today.
🚗 Method 3: The Two-Phase Solo Shot (Most Professional-Looking Result)
This is the method that gets the results closest to a real two-car chase shoot, and it takes about 20 extra minutes of setup.
- Shoot the car stationary first, parked exactly where you want the final shot to "be," in the right light, from the angle you want. Get this frame perfect: focus, exposure, composition.
- Shoot a clean background plate from the same tripod position, same framing, with no car in it, ideally while a similar-speed vehicle passes through so you know your shutter speed choice will read as motion.
- Composite the two in editing, using the parked car shot as your sharp subject and adding motion blur to the wheels and background either from the plate or synthetically (most editing apps, including free mobile ones, have a radial or motion blur tool built for exactly this).
This sounds more technical than it is. Car photographers and reviewers have used versions of this trick for decades, it's how a lot of studio and dealership "rolling shots" get made when nobody wants to actually risk the car. The honest version: it takes practice to make the blur direction and intensity look natural, but it's forgiving because you're not trying to nail focus and framing on a moving target in real time.
⚙️ Camera Settings That Actually Matter
Whichever method you use, the settings underneath a good rolling shot are the same:
- Shutter speed: 1/30 to 1/60 for wheel blur with a sharp car (mount-based methods), or slower (1/15-1/30) if you want heavier background blur with the risk of some subject softness.
- Pan speed matched to car speed if you're shooting from outside the car (Method 2). This is the single hardest skill in traditional rolling shot photography and the entire reason mount-based methods (Method 1) are so much more forgiving for solo shooters, the camera is locked to the car, so pan speed is automatically perfect every single time.
- Continuous/burst mode. Even with a mount, shoot 10-15 frames per pass and pick the best one. Vibration and micro-bumps mean not every frame will be equally sharp.
- Lock focus manually if your camera lets you. Autofocus hunting mid-shot is the number one cause of a rolling shot that looked great on the small screen and blurry everywhere on a full screen.
- Shoot in the hour before sunset ("golden hour"). Lower light forces slower shutter speeds naturally, which is exactly what you want for motion blur, and the light itself makes everything look better.
🛣️ Where to Actually Shoot
The best rolling shot locations share a few things in common: consistent, repeatable road surface (no potholes vibrating your rig), a background with visual interest and contrast (tree lines, city blocks, tunnel walls, warehouse rows all read great blurred), and low traffic so you can make multiple passes without holding anyone up or drawing attention.
Good options most cities have somewhere: quiet industrial parks after business hours, long straight sections of frontage roads, empty big-box parking lots on Sunday mornings, and underused access roads near ports or rail yards. Avoid neighborhoods, school zones, and anywhere with pedestrians. This should go without saying, but it's worth saying anyway: a great photo isn't worth a ticket, a crash, or making your local scene look bad to everyone watching.
If you're not sure where's actually quiet and shootable in your city, that's a real gap Photo Ops and local Clubs on Spota help close, both surface real-world spots other car people have already found and vetted, instead of you guessing and hoping a random lot stays empty.
🧯 Common Mistakes That Ruin the Shot
- Too much speed, not enough shutter control. Fast doesn't automatically mean better. A well-executed 30 mph pass beats a shaky, over-exposed 55 mph one every time.
- Mount placement too far from the frame edge. If the mount arm shows up in frame, or the mount itself vibrates visibly, the whole shot reads as amateur no matter how good the blur is.
- Shooting in harsh midday light. Flat light kills the drama that makes rolling shots pop. Save it for golden hour or overcast days.
- Skipping the burst. One frame, one shot, no backup, is how you end up with a great composition and a blurry wheel well where you wanted sharp detail.
- Forgetting the background matters as much as the car. A perfect rolling blur against a boring beige wall is still a boring photo. Scout the background first, then figure out your pass.
🏁 The Bottom Line
Rolling shots used to gatekeep car photography behind having the right friends available at the right time. That gate's gone. A twenty-dollar suction mount and a quiet stretch of road get you 90% of the way to the shot people assume took a professional two-car shoot to pull off. Learn your camera's shutter behavior, scout a background that actually adds something, and stop waiting on somebody else's schedule to get the photo your build deserves.
Related reading: How to Approach a Car Owner Respectfully for Pics and the How-Tos category for more practical car culture guides.