
🔧 You Already Modded Something You'll Have to Undo
Be honest. You've either done this or you know someone who has: dropped four figures on an intake and exhaust before the car had anything resembling proper suspension, then six months later ripped half of it back out to fit coilovers that needed the fender liners you already replaced with a different part.
Nobody hands you a build order when you buy your first modified car. You just start buying whatever looks coolest in your Instagram feed that week, and the internet is more than happy to sell you on horsepower first because horsepower is what gets the likes. So that's what most people chase first. Then the car can't put that power down, can't stop, can't turn, and doesn't look right doing any of it, so the next purchase becomes damage control instead of progress.
There's an order to this. It's not a rigid law and every build has exceptions, but the builders who end up with something genuinely good, and who don't burn through twice the money getting there, follow roughly the same sequence. Here it is, in the order it should actually happen, and the reasoning behind each stage so you can adapt it to your own car instead of following it blindly.
🛑 Stage 0: Fix What's Already Broken
This isn't a mod stage, it's a prerequisite, but it gets skipped constantly because it's boring. Before a single aftermarket part goes on the car, it needs to be mechanically sound. That means fluids are fresh, the timing chain or belt is within service life, the suspension bushings aren't shot, the brakes aren't down to the wear indicators, and there's no check engine light hiding a misfire or a boost leak.
Modding a car with an existing mechanical problem is how you end up chasing a phantom issue for months, convinced your new intake is causing a stumble that was actually a worn coil pack the whole time. Get a baseline. A car that runs correctly stock is the only foundation worth building on top of.
Spota tip: if you're logging your build in a digital Garage, log the baseline too, mileage, known issues, fluids changed, before the first mod goes on. Future you will want that reference point.
🦴 Stage 1: The Skeleton (Suspension, Brakes, Wheels/Tires)
This is the stage almost everyone skips, and it's the one that matters most.
Why this goes first:
- Every mod after this one changes how the car handles weight, grip, and stopping distance. Adding suspension after power means you're retuning a car you already like the feel of, and usually discovering the factory brakes and tires were never built for the power you just added.
- Coilovers, sway bars, and bushings are foundational. They don't get replaced again for years in most builds. Doing this early means every mod after it is built on the final geometry, not a temporary one.
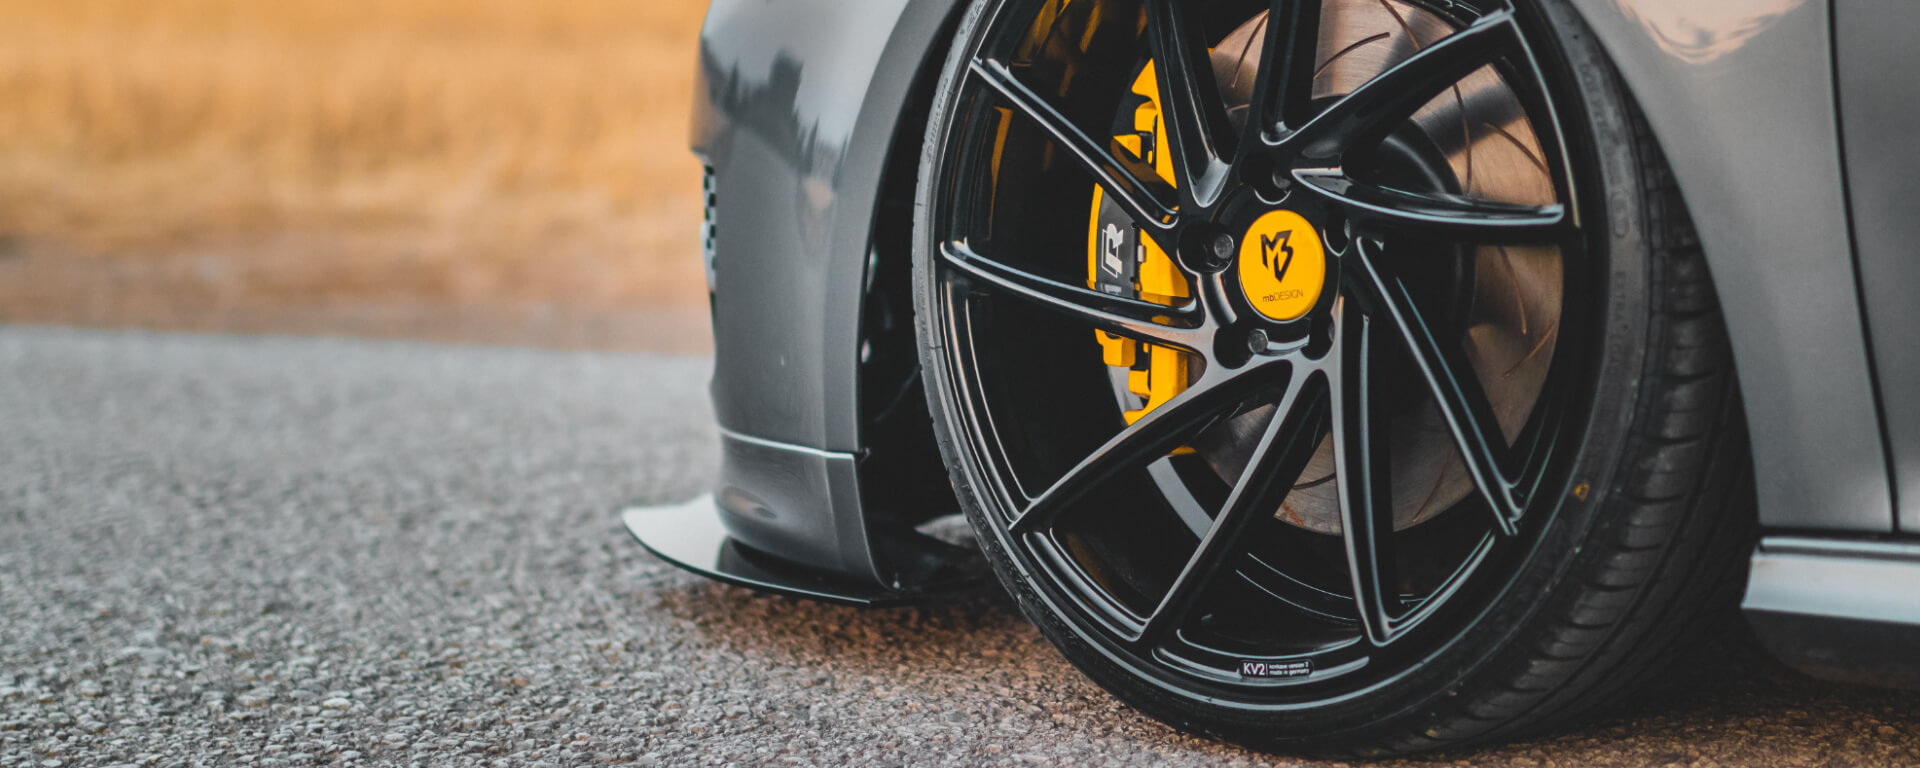
- Wheels and tires are the single biggest "feel" upgrade for the money, and they inform everything downstream: brake caliper clearance, fender clearance for coilovers, and how much power the car can actually put down before it just spins.
What actually goes in this stage:
- Coilovers or a quality lowering spring and shock combo, not springs alone on stock dampers
- Sway bars and end links if the platform is known for body roll
- Fresh bushings, especially on anything over 80,000 miles, poly or OEM-spec rubber depending on how stiff you want the ride
- A brake pad and rotor upgrade at minimum, a big brake kit if you're planning serious power later
- Wheels sized correctly for your tire and caliper plans, and a tire that actually matches your use case (grip tire for canyon runs and meets, not the cheapest all-season that looked fine on paper)
Skipping this stage and going straight to power is the single most common regret builders post about a year into ownership. The car gets fast before it gets good, and "fast but scary" is not the flex people think it is.
🌬️ Stage 2: Supporting Mods (Cooling, Fueling, Fluids)
Before you touch power output, make sure the car can survive making more of it and running hotter for longer. This stage is unglamorous, nobody posts a reel of a new radiator, but it's what keeps stage 3 from turning into an engine bay full of expensive regret.
- An upgraded radiator or oil cooler if you're in a hot climate or plan track days
- A fuel system audit: injectors, fuel pump, and lines rated for where you're headed with power, not just where you are today
- A proper tune-capable ECU setup if your platform needs one, even before you add the parts that need tuning
- Fresh, correct-spec fluids across the board: coolant, transmission fluid, differential fluid
If you're planning to eventually push serious power, buying the fuel system once for your end goal is cheaper than buying it three times as you creep up in stages. Know roughly where you're headed before you buy the injectors.
⚡ Stage 3: Power (Intake, Exhaust, Tuning, Forced Induction)
Now the fun part, and the part everyone wanted to start with. This is genuinely the right time for it, because the car underneath the power is finally ready to use it.
Reasonable order within this stage:
- Bolt-ons first: a quality intake and exhaust, both chosen for actual gains and sound you want, not just the loudest option on the shelf
- A proper tune once bolt-ons are installed, this is where most of the real, reliable gains actually come from
- If you're going forced induction (turbo, supercharger) or building for big numbers, this is where that conversation with a shop happens, along with a hard look back at Stage 2 to confirm your fueling and cooling can actually support it
- Drivetrain upgrades (clutch, differential, driveshaft) as needed to handle what you just unlocked, not before
A car with a stock clutch and a tune that doubles the torque is a slipping clutch waiting to happen. Sequence power increases with the drivetrain's ability to handle them, not the other way around.
🎨 Stage 4: Cosmetics and Aero
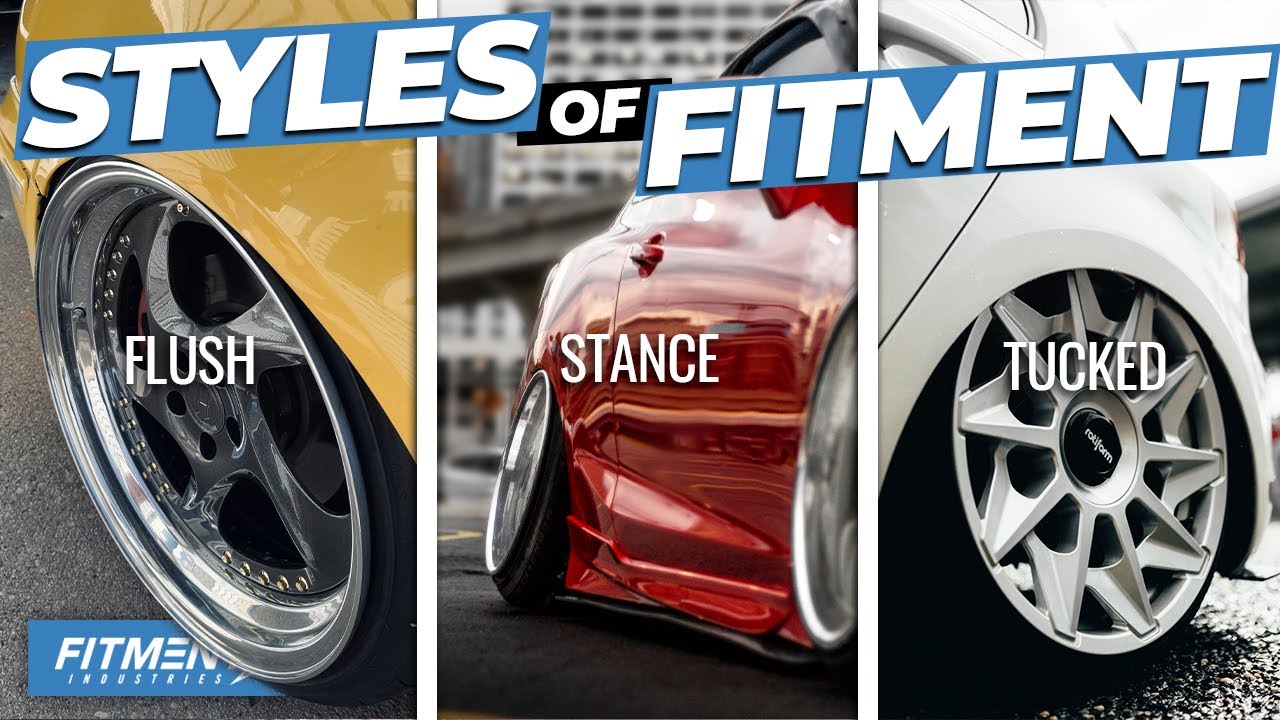
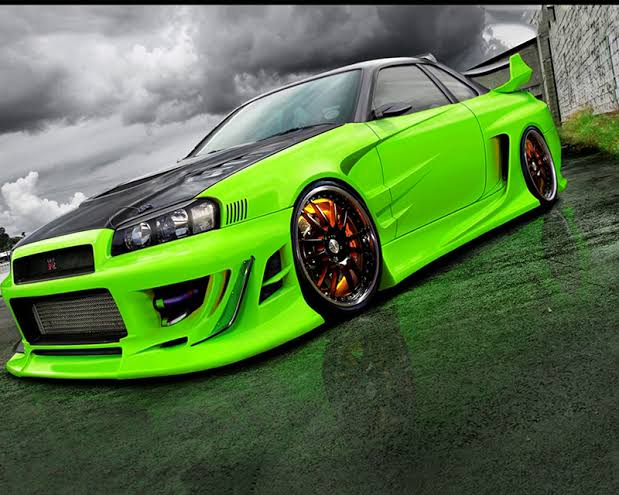
This goes last for a practical reason, not an aesthetic one: body kits, widebody conversions, and aero pieces are the most likely mods to need adjustment once your suspension, wheel, and tire setup is finalized. Fit a widebody kit before you've settled on final wheel width and offset, and there's a real chance you're cutting or re-fitting panels later.
Cosmetics also tend to be the most expensive-per-dollar-of-actual-improvement mods on the list, so doing them last means you're spending that money on a car that already drives the way you want, rather than a car that looks the part but still needs the suspension work that actually changes how it feels to own.
This is also the stage to think about your Garage timeline as a story, not just a parts list. The progression from stock to Stage 1 to Stage 4 is the content people actually want to see. A car that appeared overnight with everything installed is less interesting than watching someone build toward something.
🧠 The Exceptions Worth Knowing
No build order survives contact with reality perfectly, and a few situations are legitimate reasons to break the sequence:
- You bought the car already built. If you picked up a car with mods already installed, your job is auditing what's there against this order, not starting from Stage 0. Check the suspension and brakes first regardless of what the seller already did to the power side.
- Reliability mods that double as power mods. Some parts (a better ignition system, for example) exist in that gray zone between Stage 0 and Stage 3. Use judgment.
- Budget builds where "someday" money isn't coming. If Stage 1 suspension work is financially out of reach right now but a cheap bolt-on is available, it's reasonable to do small, reversible things while you save, as long as you're honest that you're not "done" with that stage yet.
🏁 The Build That Lasts Is the One That's Sequenced
Every car guy has a story about the mod they had to undo. The fix is boring but simple: suspension and brakes before power, supporting systems before you stress them, and cosmetics after the car already drives the way you want it to. Follow that order and every dollar you spend builds on the last one instead of fighting it.
If you're logging your build as you go, a Garage that shows the real sequence, stock to skeleton to power to polish, tells a better story than a car that just showed up finished one day. Related reading: check out why every car guy becomes a mechanic after buying mods for what happens once you're a few stages deep, and browse how-tos for more build-specific guides.
Mod with a plan. The car, and your wallet, will thank you.