
🛞 The Mod That Turned Into a Math Problem
Every car guy remembers the first time someone asked them "what's your offset?" and they had absolutely no idea what that meant.
You just wanted wheels that looked good. Instead you got dragged into a spreadsheet of millimeters, backspacing calculations, fender roll appointments, and a group chat full of people arguing about whether 5mm of poke is "clean" or "try-hard."
Wheel fitment shouldn't be this complicated. Slap on some wheels, right? Wrong. Fitment is the one mod that turned buying a part into an engineering exercise, and somehow the whole car scene decided that was worth it.
Here's why fitment became the obsession it is, what the numbers actually mean, and how to stop guessing and start getting it right the first time.
📐 What Fitment Actually Means
It's Not Just "Bigger Wheels"
Fitment is the relationship between three things: wheel width, offset, and tire size, and how they combine with your car's suspension geometry to determine exactly where the wheel and tire sit inside (or outside) the fender.
Get it right and the wheel sits flush with the fender lip, tucked but not rubbing, aggressive but legal. Get it wrong and you've got a wheel poking out like a dinner plate on a shoebox, or worse, tucked so far in it looks like a rental car.
The three variables that decide everything:
- Wheel width - how wide the wheel is, measured in inches
- Offset - where the mounting surface sits relative to the wheel's centerline, measured in millimeters
- Backspacing - the distance from the mounting surface to the inner edge of the wheel
Change any one of these and the whole fitment shifts. That's why two wheels with the same diameter can look completely different on the same car.
Offset: The Number That Controls Everything
Offset is measured in millimeters and it's either positive, negative, or zero.
- Positive offset: the mounting surface sits toward the front (outside) of the wheel, which pulls the wheel further into the fender. Most factory wheels run high positive offset (35mm+) because manufacturers care about turning radius and fender clearance, not stance.
- Negative offset: the mounting surface sits toward the back (inside) of the wheel, which pushes the wheel out toward the fender lip or beyond it. This is what creates "poke."
- Zero offset: the mounting surface sits exactly at the wheel's centerline.
Spota tip: if you're planning a fitment build around a specific city's Photo Op spots, a flush stance photographs completely differently in direct sun versus golden hour. Scout the location before you commit to a number.
Lower the offset number (or go negative), the wheel pushes out. That's the entire trick. Everything else is just consequences of that one move.
🔧 Why This Became an Obsession, Not Just a Spec
The Visual Payoff Is Instant
Nothing changes a car's entire presence like fitment. A completely stock car with the right wheel width and offset looks transformed, no exhaust, no wrap, no body kit needed. That's a huge return for what is, mechanically, just a wheel swap.
Compare that to something like an intake or a tune: you feel a difference, maybe hear one, but nobody walking past your car at a gas station notices. Fitment is visible from fifty feet away. It's the mod that gets you noticed before anyone even hears your exhaust.
It's a Skill, Not a Purchase
Here's the part that makes fitment addictive instead of just another checkbox mod: you can't just buy your way to correct fitment. You have to calculate it, and the calculation depends on your specific car, your specific suspension setup, your ride height, and your tire size.
That means two identical cars with two identical wheel sets can fit completely differently depending on lowering springs, camber, and rolled fenders. It's a puzzle unique to your build, which is exactly the kind of problem car guys can't leave alone.
The Community Runs on Fitment Threads
Every model-specific forum, every subreddit, every Discord has a fitment thread where people post their specs: wheel size, offset, tire size, spring rate, camber, and whether they rubbed. It's become a shared language. Post "18x9.5 +22 with 245/40" and other enthusiasts instantly picture your entire stance without seeing a photo.
That shared vocabulary is part of why fitment feels like initiation into car culture. You don't really "get it" until you understand what those numbers mean, and once you do, you can't unsee bad fitment on stock cars anymore.
🎯 Poke, Flush, and Tuck: The Three Fitment Camps
Tucked Fitment
The wheel and tire sit entirely inside the fender line, no part of the tire visible past the bodywork when viewed from directly above. This is the safest, most conservative fitment, common on daily drivers and cars that need to survive potholes and speed bumps without drama.
Pros: no rubbing risk, works with stock ride height, no legal gray area Cons: looks factory, doesn't show off the wheel's lip or spokes
Flush Fitment
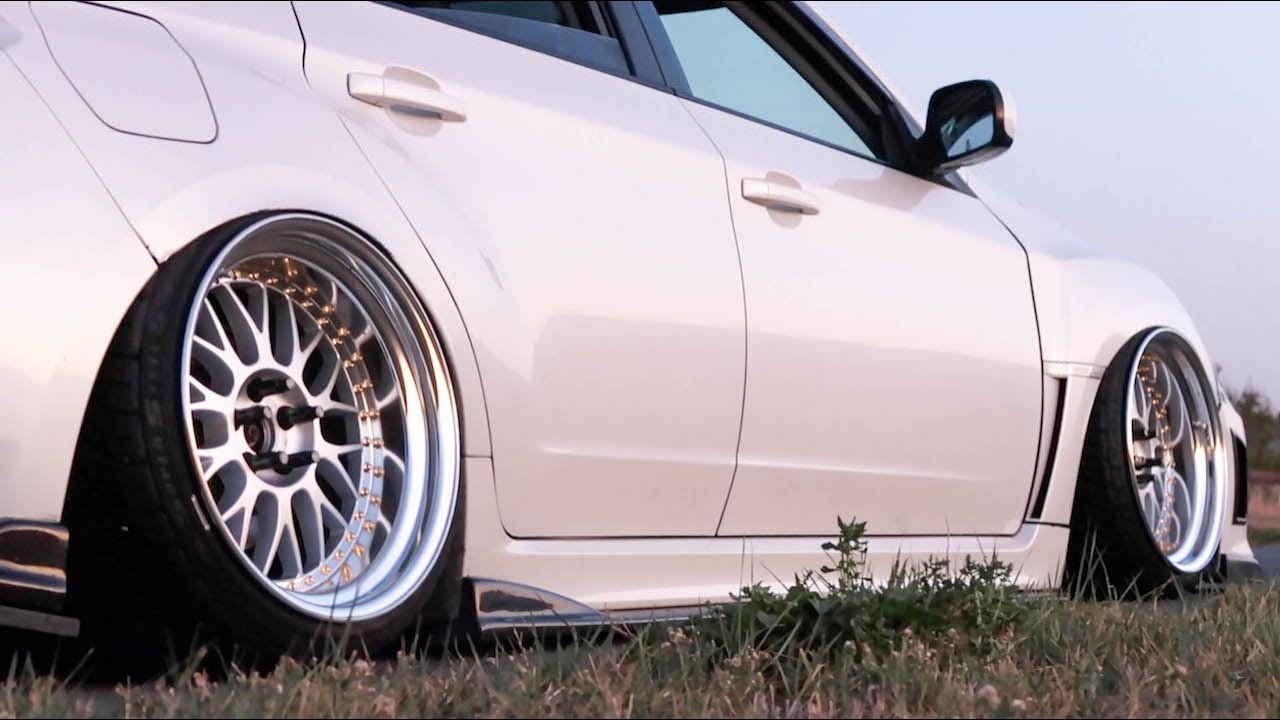
The outer edge of the tire sits exactly at the fender lip, no more, no less. This is the fitment most enthusiasts chase because it looks intentional and finished without looking aggressive or unsafe.
Flush is the hardest to hit precisely because it depends on getting your offset, tire width, and ride height all correct simultaneously. It's also the fitment most likely to require test-fitting: buying a wheel, mounting it, and checking clearance before committing to tires.
Poke
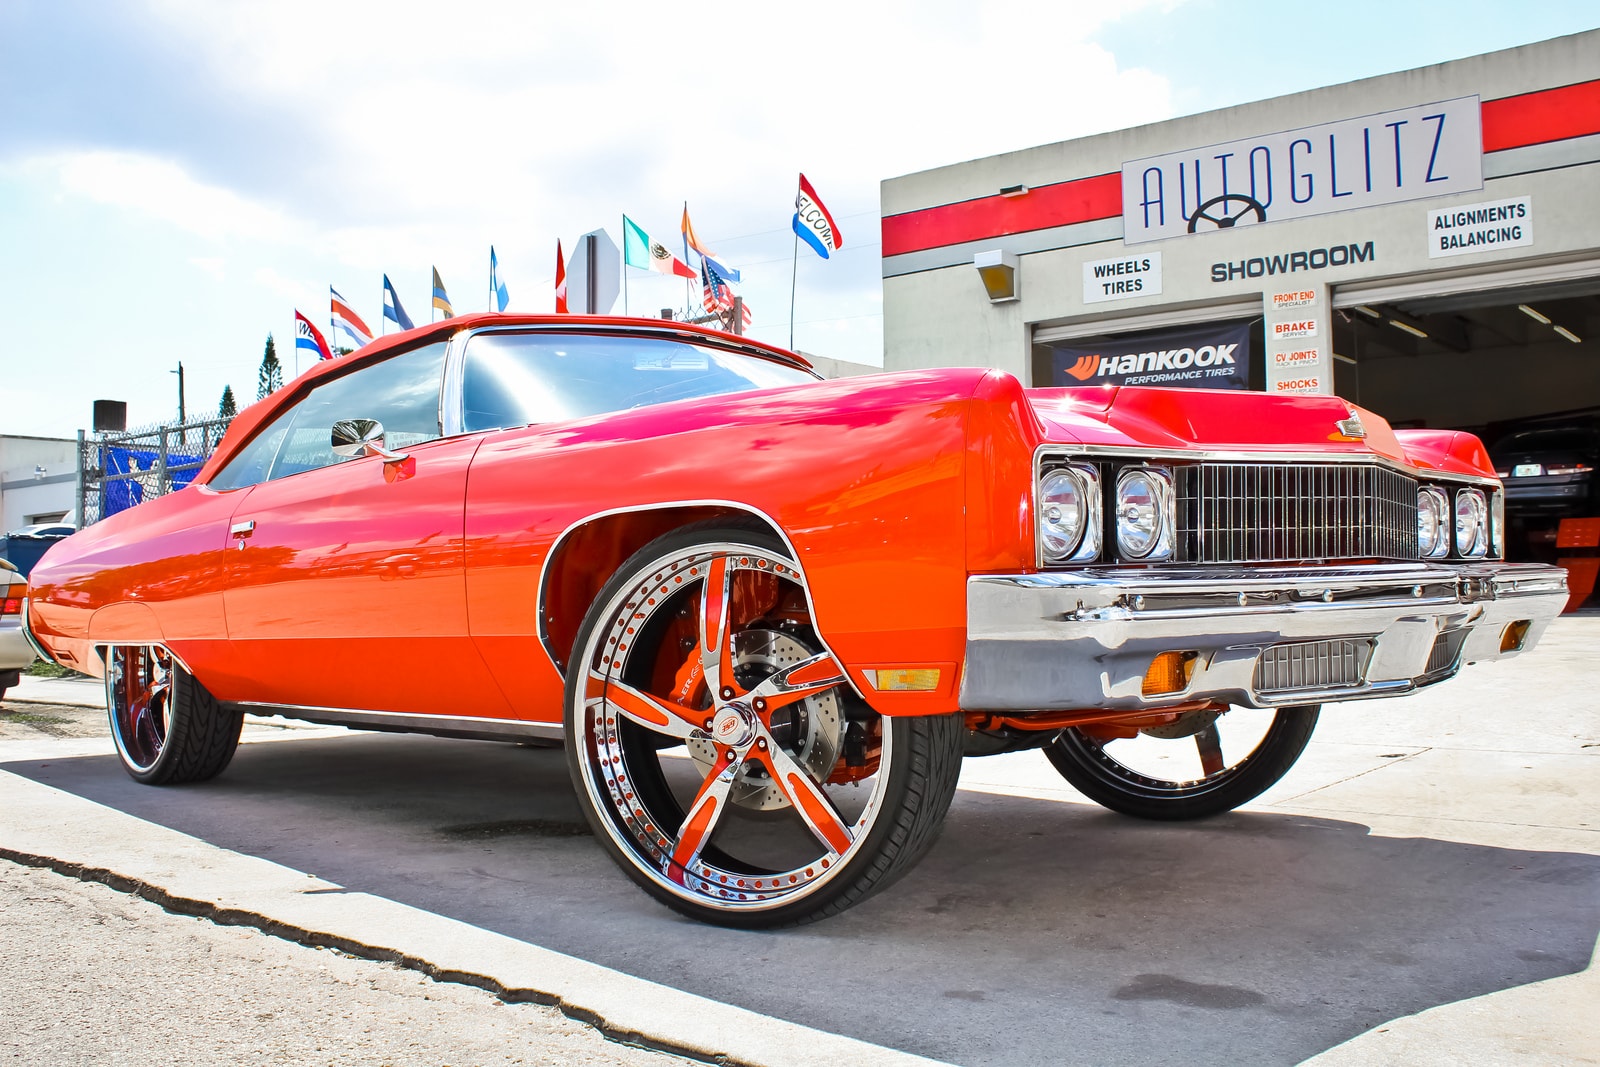
The tire sits proud of the fender, sticking out past the bodywork. A little poke (5-15mm) reads as aggressive and intentional. A lot of poke without fender work is how tires get shredded by wheel wells, and in a lot of states, it's also how you get a fix-it ticket for an unsafe modification.
Spota tip: if you're documenting a poke build in your garage timeline, log the before-and-after ride height too. Fitment context matters as much as the wheel spec itself.
🚗 Stretch, Camber, and the Rest of the Fitment Toolkit
Tire Stretch
Running a tire narrower than the wheel's recommended width creates "stretch," where the tire's sidewall pulls taut across the wheel, exposing more of the wheel's lip. A little stretch (10-20mm narrower than recommended) is common and mostly cosmetic. Aggressive stretch (30mm+) trades handling and tire life for a specific visual look, and it's controversial for good reason: extreme stretch reduces the tire's contact patch and can compromise how the tire seats on the bead.
Camber
Negative camber, tilting the top of the wheel inward, does two things: it lets a wider or wider-offset wheel tuck further under the fender without rubbing, and it looks aggressive on its own. Mild negative camber (1-2 degrees) is common on daily-driven fitment builds and barely affects tire wear. Extreme camber (5+ degrees), the kind you see at big stance shows, destroys tire life fast and isn't meant for daily driving, it's meant for a photo.
Fender Rolling
Factory fenders have a lip that curls inward, and that lip is often the actual limiting factor on how much wheel and tire you can run, not the suspension. Rolling the fender (using a fender roller tool to flatten that lip) can gain you 10-15mm of clearance without any other changes. It's one of the cheapest, most effective fitment tools that doesn't touch your suspension or wheels at all.
Spacers
Wheel spacers push the wheel outward without changing the wheel itself, essentially simulating a lower offset. They're a cheaper way to test a more aggressive stance before committing to a full new wheel purchase, but quality matters enormously here: cheap spacers with insufficient stud engagement are a legitimate safety risk. If you're running spacers over 15mm, hub-centric spacers with extended studs or bolts are the only responsible option.
💰 What Fitment Actually Costs
Getting fitment right isn't cheap, and that's part of why it's such a flex when someone nails it.
- Wheels: $600 - $3,000+ depending on brand, size, and whether they're forged
- Tires: $400 - $1,200 for a set, more for stretched or specific sizes
- Spacers (if needed): $80 - $300 for quality hub-centric spacers
- Camber kit or adjustable arms: $150 - $600
- Fender rolling: $50 - $150 if done at a shop, free with a rented roller and patience
- Test-fit mistakes: priceless, and everyone has at least one story about ordering the wrong offset
The real cost of fitment isn't the parts, it's the trial and error. Most enthusiasts don't nail their ideal fitment on the first purchase. They learn the hard way, usually after a set of wheels arrives and rubs the strut on full lock.
⚠️ The Legal and Practical Reality
Rubbing Isn't Just Annoying, It's Dangerous
A tire rubbing the fender under compression (hitting a bump, going over a curb, full steering lock) isn't just an ugly scraping sound. It can blow the tire out at speed. Every serious fitment builder test-fits before daily driving: full lock left, full lock right, full suspension compression, checked at the shop before the car ever sees a real road.
Inspection and Legality Vary Wildly
Some states have explicit rules about how far a tire can extend past the fender line. Others enforce it loosely through general "unsafe modification" statutes. A fitment that's completely normal in one state can fail inspection or draw a ticket in another. If you're chasing an aggressive stance, know your local rules before you build around a look you can't legally drive.
Insurance Can Get Complicated
Aggressive fitment, especially combined with camber and stretch, can affect how an insurer views your car after an accident, particularly if a claims adjuster decides the modification contributed to reduced control. It rarely comes up until it matters, and then it matters a lot.
🧠 How to Actually Get Your Fitment Right
Start With Real Numbers, Not Guesses
Before buying anything, find your car's factory offset and wheel width (it's usually stamped on the back of the factory wheel or in the owner's manual), then look up what other owners of your exact model and suspension setup are running. Model-specific forums and fitment-focused subreddits have years of posted specs with photos, which is a far better reference than guessing.
Use a Fitment Calculator, Then Verify in Person
Online fitment calculators can simulate how a given wheel width and offset will look and clear on your specific car, but they're a starting point, not a guarantee. Suspension wear, aftermarket springs, and manufacturing tolerances all shift the real-world result slightly from the simulation.
Test-Fit Before You Commit to Tires
If at all possible, mount the wheels bare (or on cheap take-off tires) and check clearance through full steering lock and suspension travel before ordering your final tire set. This single step prevents the most common and most expensive fitment mistakes.
Change One Variable at a Time
If your first fitment attempt doesn't look or fit right, resist the urge to change the wheel width, offset, and ride height all at once. Adjust one variable, reassess, then adjust the next. Fitment problems compound, and it's much easier to diagnose what's wrong when you've only changed one thing.
🏁 The Bottom Line
Wheel fitment turned into car culture's most complicated obsession because it's the rare mod that's simultaneously the most visually impactful, the hardest to get exactly right, and genuinely different for every single build. There's no universal answer, no factory setting that guarantees a good look. Just millimeters, math, and a lot of forum threads written by people who've already made the mistakes you're about to make.
Nail it once, though, and you'll understand why people spend years chasing that exact flush stance. It's the one mod where the numbers and the look are the same conversation.
If you're building toward a specific fitment right now, log the process in your garage as you go. The before-and-after is half the reason people care.
Fitment is the closest thing car culture has to a shared language. Learn the numbers, and you'll never look at a stock wheel gap the same way again.