
🌇 Why Every Good Car Photo You've Ever Envied Was Shot at the Same Time of Day
Go find your favorite car photo right now. The one you saved, the one you screenshot, the one that made you open your camera app and think "I need that." There's a very good chance it was shot in the hour before sunset, and there's an equally good chance the person who shot it didn't do anything you can't also do.
Golden hour isn't a filter. It's not an app trick, it's not a lucky accident, and it's not reserved for people with $4,000 mirrorless setups. It's a physical fact about how sunlight behaves when the sun sits low on the horizon: the light travels through more atmosphere, scatters the harsh blue wavelengths, and leaves you with warm, soft, low-contrast light that flatters literally every car paint color and every body panel on earth. It's the single biggest lever you can pull to make your car photos look expensive, and most people still waste it because they don't understand the timing, the prep, or the settings that actually matter.
This is the full breakdown: when to shoot, where to shoot, how to prep the car beforehand, what to actually do with your camera or phone once you're there, and the composition habits that separate "nice photo of my car" from "is that a magazine shot."
If you're hunting down photo locations on top of this, our top car spotting locations guide is worth pairing with this one, and if you're shooting your own car without help, check out our solo rolling shot guide for movement shots to go with your static ones.
⏰ Timing: Golden Hour Is Shorter and Weirder Than You Think
Most people think "golden hour" means "kind of late afternoon" and show up whenever. That's the first mistake. Real golden hour, the light that actually looks different from regular daylight, is a genuinely narrow window, and it moves depending on your latitude and the season.
How to actually find your window:
- Use a sun-tracking app (PhotoPills, Sun Surveyor, or even the weather app's sunset time) and work backward from the exact sunset time for your location that day.
- The "true" golden hour is roughly the last 40-60 minutes before sunset. The last 10-15 minutes of that window, right as the sun kisses the horizon, is when you get the deepest color and the longest, most dramatic shadows.
- In summer at higher latitudes, this window can stretch closer to 90 minutes. In winter, or closer to the equator, it can be closer to 30. Don't assume it's the same every time you shoot.
- Overcast days push the "good light" window earlier and make it last longer, but you lose the dramatic warm color, trading it for soft, even light that's forgiving but less flashy. Both are usable, they're just different tools.
The mistake almost everyone makes: showing up at the actual moment the sun sets and expecting magic. By then you've usually got 10-15 minutes left before the light drops too far and starts looking flat and blue again (this is "blue hour," and it's a different look with its own uses, mostly for city backdrops and light trails, not paint texture). Show up 30-45 minutes early, scout your angle while the light is still building, and you'll have your composition dialed in before the light peaks instead of scrambling for it.
Sunrise works too, and it's underrated. Same physics, same warm light, dramatically fewer people around, and often cleaner air before the day's heat haze and traffic exhaust build up. The tradeoff is obvious: you have to actually be there before sunrise, which is a harder sell than "swing by after work."
🧽 Prep the Car Before You Prep the Shot
This is the step people skip and immediately regret when they zoom into the photo later. Golden hour light is soft, but it's also raking light, meaning it hits the car at a low angle and skims across every surface. That's incredible for showing off curves and body lines. It's also merciless on dust, swirl marks, water spots, and fingerprints, because raking light reveals surface texture that flat overhead daylight hides completely.
The 20-minute pre-shoot checklist:
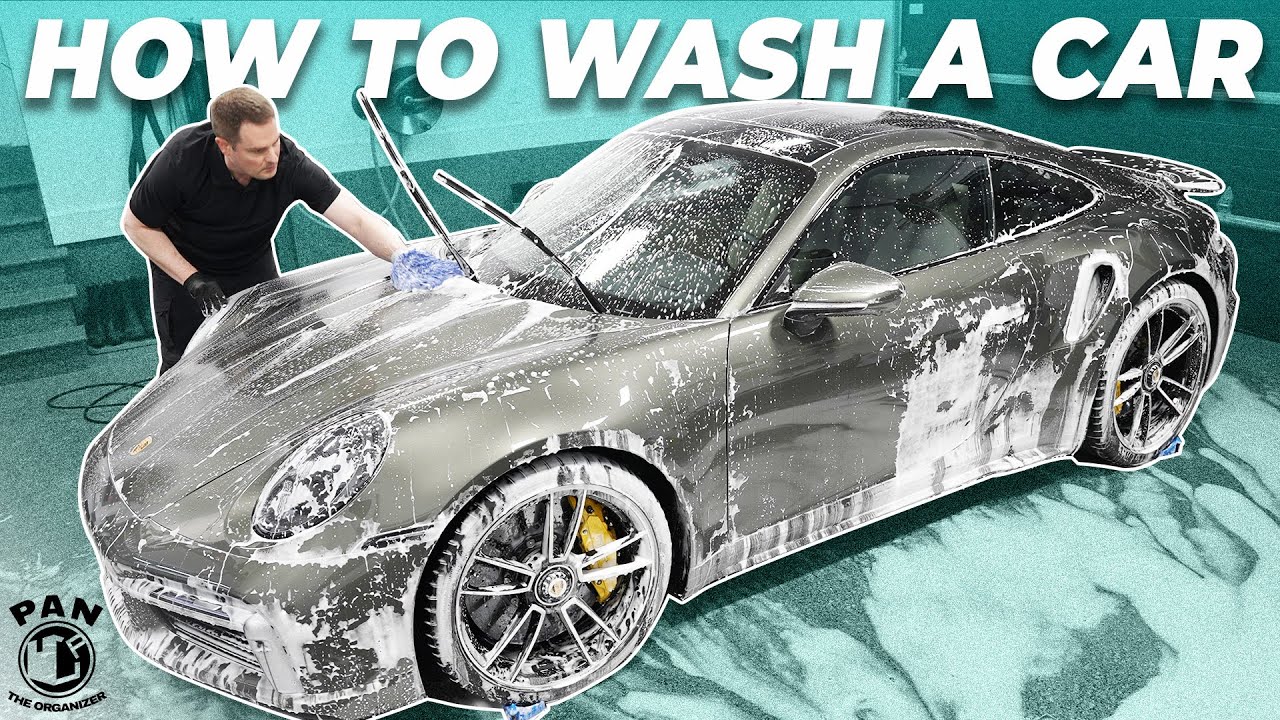
- Wash and dry with a microfiber towel or blower, not a shirt or a gas station squeegee. Water spots show up brutally under warm side-lighting.
- Wipe down glass and mirrors separately from paint. Streaky windows are one of the most common things that ruin an otherwise great shot.
- Clean the wheels and tires last and use a tire shine or dressing if you have it. Dull, dusty tires drag the eye down and make the whole car look tired even if the paint is perfect.
- Pop the hood/trunk emblems and badges clean with a detail brush. Tiny thing, shows up huge in close-up shots.
- Check tire pressure. A slightly underinflated tire reads as "sad" in photos in a way that's hard to explain but instantly obvious once you notice it.
- Remove parking permits, toll tags, and clutter from the dash if you're shooting through the windshield or with doors open.
None of this needs to be a full detail. It's triage: hit the surfaces the light is actually going to touch.
📍 Where to Actually Stand (and Where to Park the Car)
Golden hour light has a direction, and that direction matters more than almost anything else in the shot.
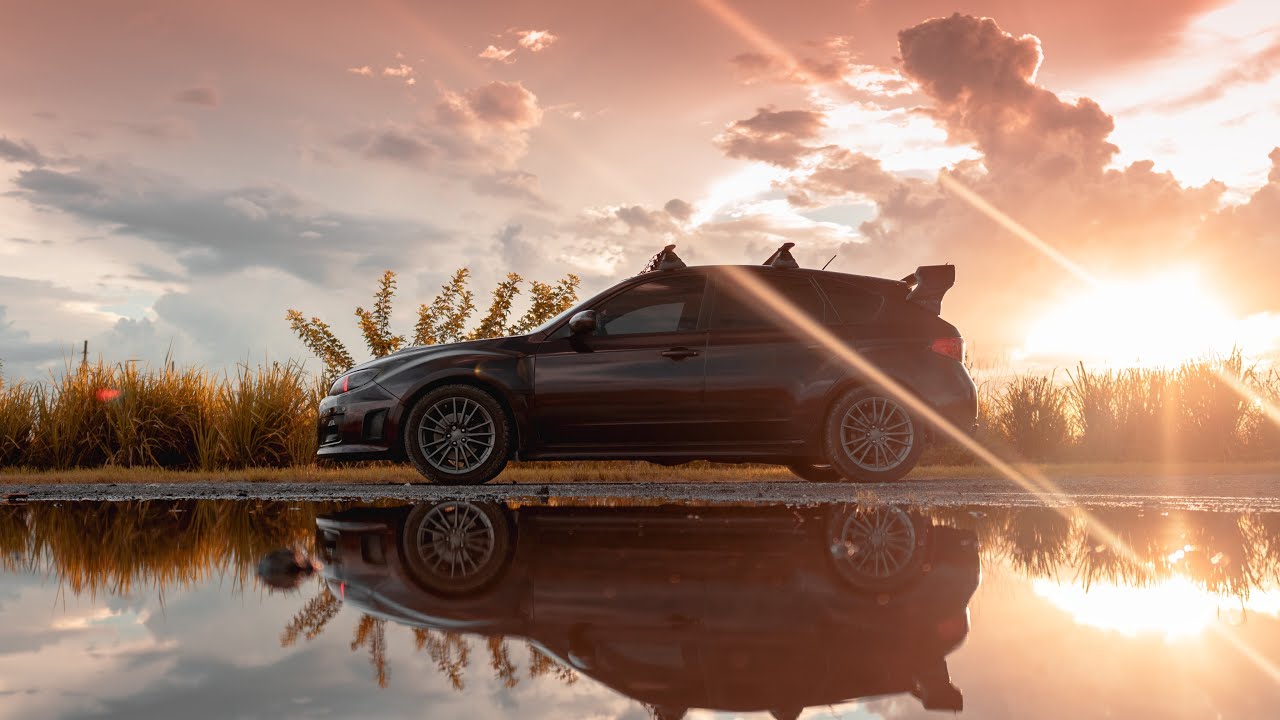
- Backlighting (sun behind the car, facing your lens): produces rim light around the body edges and can create a glowing outline effect, especially on darker cars. Gorgeous, but you'll need to expose carefully or the car can go too dark in front (see the exposure section below).
- Side lighting (sun to the left or right of the car): this is usually the sweet spot for showing off body lines, creases, and paint depth. One side of the car goes warm and lit, the other falls into soft shadow, and that contrast is what makes a car look sculpted instead of flat.
- Front lighting (sun behind you, hitting the car face-on): the safest, most beginner-friendly option, evenly lit, hard to mess up, but also the least dramatic. Good for a clean "hero shot" of the whole car, less good for texture and mood.
Picking the actual location:
- Look for backgrounds that won't compete with the car: open sky, a clean tree line, water, an empty lot, a parking structure with interesting light-and-shadow patterns. Busy backgrounds (other cars, signage, power lines cutting through the frame) pull attention away from your subject.
- Elevated or slightly lower shooting positions both work better than eye-level. Crouching low and shooting up makes a car look more aggressive and larger. Shooting from a slight elevation (a parking garage level up, a curb, a small hill) can show off the roofline and get a cleaner background.
- Wet pavement (from a recent rain, or from wetting it down yourself with a hose) turns golden hour light into reflections underneath the car, which is one of the single easiest "wow" upgrades available to anyone with a garden hose.
Spota tip: if you're hunting for photo-worthy spots in your own city, Photo Ops on the map are literally curated for this. Sunset shots, city lights, murals, scenic pullouts, someone already scouted the location and lighting angle for you. It turns "where do I even go" into a five-minute decision instead of an hour of driving around guessing.
📷 Camera and Phone Settings That Actually Matter
You don't need pro gear to get a pro-looking result at golden hour, because the light is doing most of the work for you. But a few settings decisions separate a good shot from a flat one.
If you're shooting on a phone:
- Turn off HDR if your phone over-processes it (some phones flatten the warm tones trying to "balance" the exposure). Test both and compare.
- Tap to expose on the car's body, not the sky. Letting the sky set the exposure will usually leave the car too dark.
- Use portrait mode or a longer lens (2x/3x) if available, and physically step back rather than shooting wide up close, which distorts the car's proportions.
- Shoot in RAW/ProRAW if your phone supports it. It gives you real room to recover highlights and shadows afterward instead of baking in the phone's automatic processing.
If you're shooting on a mirrorless or DSLR:
- Aperture: f/4 to f/8 for a full-car shot where you want the whole vehicle sharp. Wider (f/1.8-f/2.8) only if you're doing a tight detail shot (badge, wheel, headlight) and want background blur.
- Shutter speed: fast enough to avoid camera shake if handheld, generally 1/250 or faster for a static car unless you're intentionally blending in motion elsewhere in frame.
- ISO: keep as low as the light allows. Golden hour is bright enough that you rarely need to push ISO high for a stationary subject.
- Shoot in RAW, always. Golden hour's dynamic range (bright sky, darker car) benefits enormously from the extra editing latitude.
- Bracket your exposure if your camera supports it (shoot the same frame at -1, 0, +1 stops) so you have options in post, especially for backlit shots.
Exposure is the actual hard part. Golden hour often has a bright sky and a comparatively darker car in frame, especially with backlighting. Expose for the car's paint, let the sky blow out a little if you have to. A slightly bright sky reads as intentional and dramatic. An underexposed, muddy car reads as a mistake.
🧩 Composition Habits That Separate Amateur From "Is That a Magazine Shot"
- Shoot at an angle, not straight-on. A 3/4 front or 3/4 rear angle shows the car's actual shape and proportions. Dead-on front or side shots tend to look flat and compress the car's dimensions.
- Fill the frame, but leave breathing room. Don't crop off wheels or bumpers awkwardly, and don't leave so much empty space around the car that it looks like an afterthought.
- Use leading lines. Road lines, curbs, architectural edges, and even shadows can point the eye toward the car if you frame them intentionally.
- Get low. Almost every underwhelming car photo was shot from standing height with the phone at eye level. Crouch. Kneel. Sometimes lie on the pavement. The car looks better from below its own beltline nearly every time.
- Shoot more than you think you need. Move around the car in a full loop: front 3/4, straight side, rear 3/4, a detail shot of the wheels, a shot through the windshield if the interior's clean. You'll edit down later, but you can't create an angle you never captured.
- Watch reflections in the paint. Glossy paint reflects everything, including you, other cars, trash cans, power lines. A quick position shift before you shoot saves an annoying edit later.
🖥️ The Quick Edit Pass (Don't Overdo It)
You don't need a full Lightroom course to make a golden hour shot pop, but a light edit pass does more than people expect.
- Bump warmth slightly if the camera cooled it down, but don't overcorrect into orange soup. Golden hour is already warm; you're enhancing, not inventing it.
- Lift shadows a touch if the car's underside or shaded panels went too dark.
- Pull highlights down slightly if the sky or chrome trim is blown out.
- Add a small contrast boost. Golden hour light is naturally low-contrast, and a touch of added contrast usually makes the paint pop without looking fake.
- Resist the urge to crank saturation. Oversaturated golden hour edits are one of the most common tells of an inexperienced editor. The light is already doing the work. Let it.
🎯 The Bottom Line
Golden hour car photography isn't a secret and it isn't gatekept, it's just a small set of habits most people never bother to learn: show up early, prep the car for raking light, think about light direction before you think about angle, expose for the paint instead of the sky, and edit with restraint. Do those five things consistently and your car photos will look meaningfully better than 90% of what gets posted, with zero new gear required.
Next clear evening, don't wait for someone else to shoot your car. Go find your light.