
🪣 You've Been Swirling Your Own Paint
Here's the uncomfortable part. Most of the fine scratches car guys spend hundreds of dollars polishing out weren't put there by a rock, a car wash, or some jerk who keyed the door. They were put there by the owner. During a wash. With a sponge that felt perfectly soft in your hand.
Paint doesn't scratch because dirt is sharp in some abstract sense. It scratches because you dragged a contaminated surface across it under pressure, over and over, one wash at a time, until the clear coat looked hazy under direct sun instead of glassy. Every gas station drive-through wash, every "waterless" spray-and-wipe on a dusty car, every reused sponge that's been sitting in a bucket since spring: all of it is doing the same thing, just at different speeds.
The fix isn't expensive. It's not even that much slower once you've done it a few times. It's a specific order of operations, a specific set of tools, and one habit that matters more than all the products combined: never let a contaminated surface touch your paint under pressure. Everything below builds around that one rule.
🧴 The Gear That Actually Matters
You don't need a garage full of products to do this right. You need a short list of the correct tools, used correctly, every time.
- Two buckets, both with grit guards. One for soapy wash water, one for rinsing your mitt before it goes back in the soap. The grit guard is a plastic insert that knocks dirt off the mitt and traps it at the bottom, away from where you dip back in. This is the entire trick behind the "two-bucket method," and it's the single biggest upgrade over washing with one bucket or a hose-and-sponge routine.
- A pH-neutral car wash soap. Not dish soap, not an all-purpose cleaner. Dish soap strips wax and sealant along with the dirt, which speeds up the exact oxidation and fading you're trying to prevent.
- A microfiber wash mitt or two. Lambswool works too. The point is loose, deep fibers that lift dirt away from the surface instead of dragging it across, which is exactly what a flat sponge or old rag does.
- A grit guard in each bucket, as mentioned, plus enough water to fully submerge the mitt between passes.
- Microfiber drying towels, not a chamois and definitely not the bath towel from your linen closet. A quality microfiber towel (or two) with a plush, dense weave lifts water instead of dragging it, which matters because a dripping-wet panel dried with the wrong material is doing the same scratching your wash just avoided.
- A pre-wash foam or snow foam (optional but worth it). Foaming the car and letting it sit for a few minutes loosens dirt before anything touches the paint, which means your mitt is doing less work and picking up less grit on the first pass.
- A wheel-specific brush and separate bucket for wheels. Brake dust is genuinely abrasive, full of metal particulate, and it's the fastest way to contaminate your paint mitt if you wash wheels and body with the same tools. Wheels get their own bucket, their own brush, always last... or first, before the body ever gets wet, depending on which school of thought you subscribe to. Either works. Sharing tools between the two doesn't.
Spota tip: if you're building out your Garage profile with maintenance history, a wash-and-detail log is a good habit to pair with mod entries. It's an easy way to show a build gets cared for, not just modified.
🚿 The Actual Wash, Step by Step
1. Rinse first, always. A full pre-rinse with a hose or pressure washer knocks off loose dirt, dust, and grit before a mitt ever touches the car. Skipping this step means your first pass is grinding whatever's stuck to the panel directly into the clear coat.
2. Foam or pre-treat if you're using it. Apply snow foam from the bottom up, let it dwell for 3-5 minutes (check the product, some want less), then rinse it off completely before hand-washing. This step alone removes a meaningful percentage of contamination before you ever pick up a mitt.
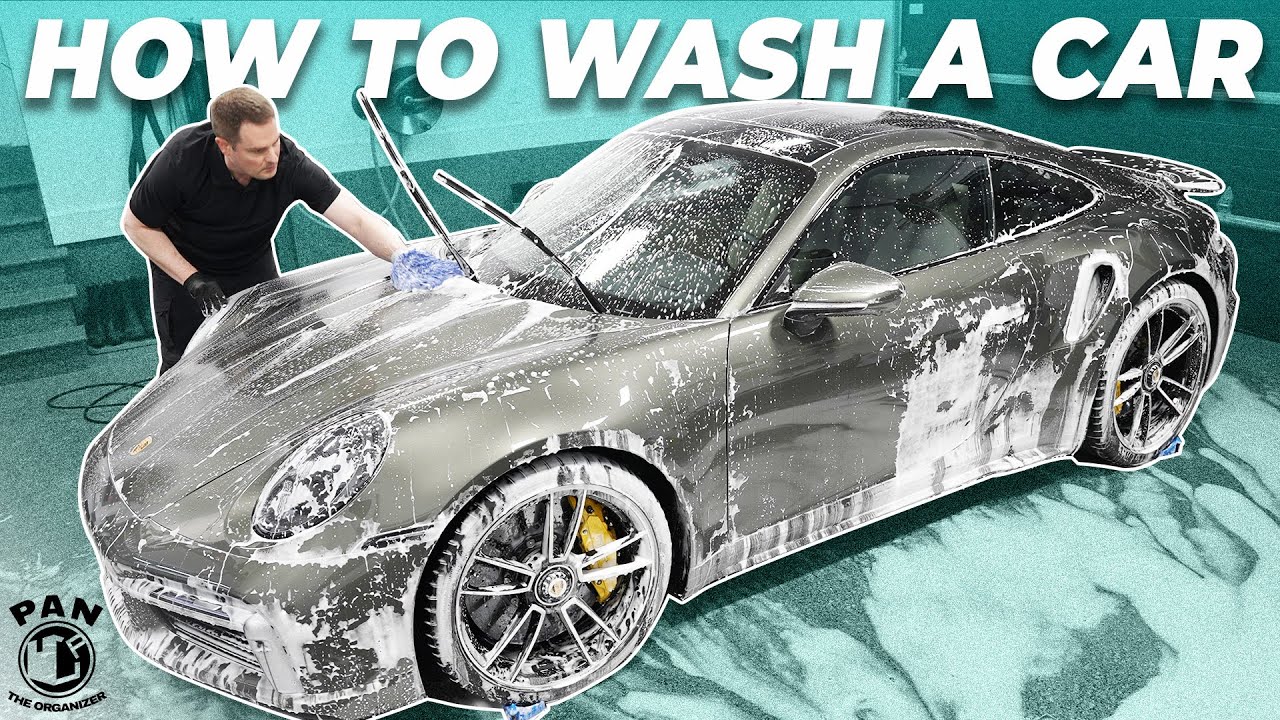
3. Wash top-down, one section at a time. Start at the roof and work down: roof, hood, upper doors, lower doors, rocker panels. Lower panels and rockers collect the most road grime, so working top to bottom keeps you from dragging that grime up into cleaner areas.
4. Dunk, wash, rinse, repeat. Dip the mitt in the soap bucket, wash one small section using light pressure and straight lines (not scrubbing circles), then dunk the mitt in the rinse bucket and drag it across the grit guard before it goes back in the soap. This rinse-before-resoap step is the entire point of having two buckets. Skip it and you're just re-dipping a dirty mitt into clean soap water, contaminating the whole bucket by the third or fourth section.
5. Wheels and tires last (or in their own dedicated pass). Use the wheel brush and wheel-only bucket. Brake dust is loaded with tiny metal shavings from pad wear, and it will scratch paint faster than almost anything else on the car if it cross-contaminates your wash mitt.
6. Final rinse, and rinse it right. A wide, sheeting rinse (not a tight, blasting stream) helps water sheet off the panels instead of beading into a hundred separate spots you'll have to chase with a towel.
7. Dry immediately, don't let it air dry. Water spots are mineral deposits left behind as water evaporates, and depending on your local water hardness, they can etch into clear coat if left long enough in direct sun. Use a large, plush microfiber towel, laid flat and dragged (not rubbed) across the panel, or a leaf blower/dedicated car dryer on delicate finishes and matte wraps.
8. Follow up with a spray detailer or sealant top-up if you've got one. Not required every wash, but it adds a layer of slickness that makes the next wash easier and helps water sheet off instead of clinging.
⚠️ The Mistakes That Cause Most of the Damage
- Reusing a mitt without rinsing it. The single biggest cause of swirl marks in a home wash. Every dip back into soap without a rinse-and-drag across the grit guard first is grinding trapped grit into the next panel.
- Washing in direct sun. Soap dries fast in heat, leaving concentrated residue and forcing you to work faster and sloppier than you should. Early morning, evening, or shade whenever possible.
- Drying with a bath towel or old t-shirt. Cotton terry towels have a flat, low-nap weave that traps dirt against the surface instead of lifting it away. If it's not a dedicated, clean microfiber towel, it's not safe for paint.
- Going in circles instead of straight lines. Circular motions concentrate the same scratch pattern in a small area, which is exactly what shows up as "swirls" under direct light. Straight, overlapping passes in one direction spread contact more evenly and are far easier to buff out if something does mark the paint.
- One bucket, no grit guard. If you're dunking your mitt back into the same water you just washed a dirty rocker panel with, you're not really removing dirt from the car, you're relocating it and reapplying it.
- Skipping the wheels-separate rule "just this once." It only takes one contaminated dunk to load a mitt with brake dust particulate that then gets dragged across every panel for the rest of the wash.
- Using automatic touchless or brush car washes as your default. Touchless washes rely on stronger chemicals to compensate for no physical contact, which isn't gentler on paint, it's a different kind of aggressive. Brush washes reuse the same brushes on every car that drove through before yours. Neither replaces a careful hand wash if you actually care about the finish.
🧽 How Often Is Too Often (or Not Enough)
There's no universal answer, but a rough guide: daily drivers in a dusty or salted-road climate benefit from a wash every one to two weeks, while a garage-kept weekend car might only need one every few weeks between shows or drives. The bigger factor than frequency is technique. A car washed weekly with bad technique will have worse paint in a year than one washed monthly with the two-bucket method done right.
If you're prepping for a show or a meet, don't cram your first-ever two-bucket wash the night before. Do a normal maintenance wash a few days out, then a lighter pre-show pass (wheels, glass, a quick wipe-down) the day before so you're not introducing fresh technique mistakes right before the car gets photographed under harsh lighting. For a full pre-show routine including paint correction and engine bay, check out our complete show prep checklist.
If you want to understand why swirl marks show up the way they do in the first place, and why some correction methods fix them permanently while others just hide them temporarily, that's covered in depth over in our paint correction breakdown. You can also browse more practical guides like this one in how-tos.
Your paint doesn't know the difference between a rock and a dirty sponge. It just knows something dragged across it under pressure. Get the two buckets, rinse before you resoap, and stop doing the damage yourself.